Half Dome Hike Guide
Half Dome is one of the most iconic hikes in the United States. Located in the Yosemite Valley of Yosemite National Park, this hike is most known for its infamous “cables” section. This “via ferrata” style section helps hikers get up the final 400 or so feet to the summit of Half Dome. Half Dome can be hiked year round but generally, a permit is required from Memorial day through Columbus Day. There are multiple ways to obtain a permit for Half Dome which I will cover in the guide. Half Dome should be a bucket list hike for anyone who loves the outdoors and challenging themselves physically and mentally.
Half Dome Quick Facts
Half Dome Rating: ★★★★★ (5/5 Stars)
Virtual Trail Guide: Half Dome
Distance: 16.6 miles (the most direct way using the Mist Trail). 15 Miles if you take the shuttle and save a bit of hiking from the parking lot.
Elevation Start: 4,018ft
High Point: 8,836ft
Total Elevation Gain: 4,800ft – Assuming you use Mist Trail
Estimated Time to Complete: 12-14+ Hours – This range can change drastically depending on your fitness level and crowds on the cables.
Difficulty: Strenuous – What does this mean?
Class: Class 4 (terrain under the cables), rest of the hike is Class 2 max – What does this mean?
Season: Cables Up: Generally October, November, March, April (expect snow outside of these periods)
Cables Down: Friday Before Memorial Day – Columbus Day – these dates also depend on snow conditions.
Crowds: High (Mist Trail, likely way down), Moderate rest of way
Directions to Half Dome
Trailhead: Mist trail and John Muir Trailhead (Shuttle Stop 16)
Getting Here: There are two main ways to get to the start of the Half Dome trail: parking at the Yosemite Valley Trailhead Parking Lot (allegedly reserved for backpacking permits – but no enforcement of that) and using the free Yosemite Shuttle and getting off at stop 16. Either way works but the shuttle option saves you about a mile of additional hiking (roundtrip).
Parking: The closest option to park for Half Dome is at the Yosemite Valley Trailhead Parking lot. It’s about a half mile away from here to the Mist Trail start. There are no restrooms here but there are some at the trailhead. This lot can fit about 50-75 vehicles and will absolutely fill up on most weekends and busy periods in the park (around holidays especially). There are of course other lots in Yosemite to park at but this is the closest option.
Park Shuttle: Shuttle stop 16 provides access to the Mist Trail and John Muir trail as well. The shuttle runs from 7AM to 10PM so just keep that in mind if you plan on using it.
Permits/Fee: Admission to Yosemite National Park requires a $35 week pass or use of a National Parks Pass. In addition to the Yosemite Park pass, Half Dome requires a reservation which is $10. I will talk more about those options below.
Permits: Half Dome is limited to 300 permits per day as of 2026. 225 day hikers, 75 to backpackers. Read more about all options of permits here. When a Park Ranger is there, they sit at the base of the subdome section of the trail to check your permit. There are three main ways to climb Half Dome with a reservation:
- Preseason Lottery: The preseason lottery runs from March 1 – March 31st and applicants are notified if successful around mid-April. This, in my opinion, is the hardest option to get a permit. I was unsuccessful three years in a row.
- Daily Permits: Once the cables go up, daily permits are available 48 hours prior to the hiking date. Example: Saturday permits go live on Thursday. This is also a lottery but generally the odds are much higher here. This is my second choice for getting a permit.
- Backpacking Permit: The final (and in my opinion best) way to get a Half Dome permit is through the backpacking option. If you obtain a backpacking permit for any of the following trailhead start points you can add on a $10 Half Dome permit when you pick up the backpacking one. With a backpacking permit, you are able to climb Half Dome on multiple days and are not pinned down to one specific day which is great.
- Happy Isles to Little Yosemite Valley
- Glacier Point to Little Yosemite Valley
- Happy Isles past LYV (Donohue pass eligible)
- Sunrise Lakes
- Cathedral Lakes
- Rafferty Creek to Vogelsang
- Mono Meadow
Summary
Dogs: Dogs are not allowed in any US National Park. If you were planning on bringing your dog up Half Dome, I have some questions about your sanity…
Camping: Yosemite has a variety of different lodging, camping and backcountry options. If you do get a backpacking permit, there are several camp spots in the Little Yosemite Valley (if your permit allows) or if you have to hike past LYV, there are great spots in between the Clouds Rest trail and Half Dome turnoff.
Water: Your last solid chance for water, if day hiking, will be in the Little Yosemite Valley. Be sure to fill up here for your final push to Half Dome. If camping, you can obviously use this same source or if you hike about a half mile past Half Dome trail, there is a stream that runs seasonally but is also great for water filtering.
Make it a Loop: Chances are, if you hike Half Dome that will be your main focus point for the day. The Mist trail is the shortest option for both up and down but I would recommend adding on the John Muir Trail to Clark Point cutoff trail on the way down to get some different views of Vernal Falls.
If you are backpacking or just want more miles adding on Clouds Rest is a no brainer. Want even more??? Merced Lake is another great option in the area to visit.
Hike Tip(s): Getting a Permit / Avoiding Crowds / Gear vs No Gear
It stinks for one of my hike tips to be “how to get a permit” but here we are. As mentioned above, there are three main ways to get a permit – the easiest (and most flexible) being a backpacking permit and then the daily permits. However, there is another option not mentioned: mooching off someone else. Hikers have been known to sit at the base of subdome where the Park Ranger typically checks in hikers and if they have an extra spot on their permit, taking it from them. This is a huge risk / reward in my opinion but if you are desperate to climb the cables, it’s another option.
For my next tip, I hope you can read between the lines and please know that I am not suggesting anything… The most quiet times on Half Dome (the Cables section) tends to be in the Summer evenings and early mornings. This is where you will likely have the least amount of people on the cables. If you are looking for a more secluded experience, those are the times I would aim for, in particular the evenings. I climbed the cables on the Thursday of Memorial Day weekend and had no one on the summit of Half Dome with me.
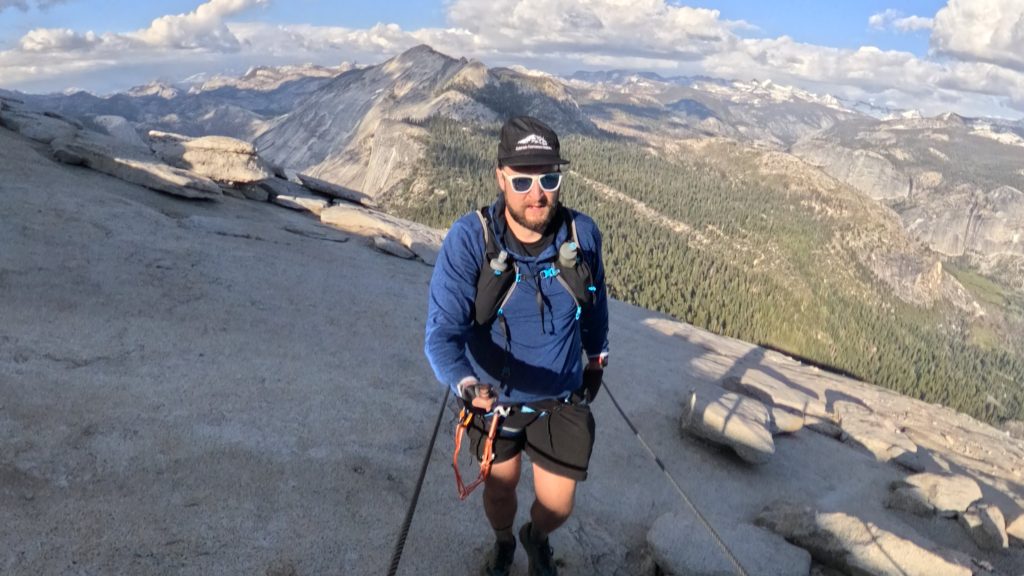
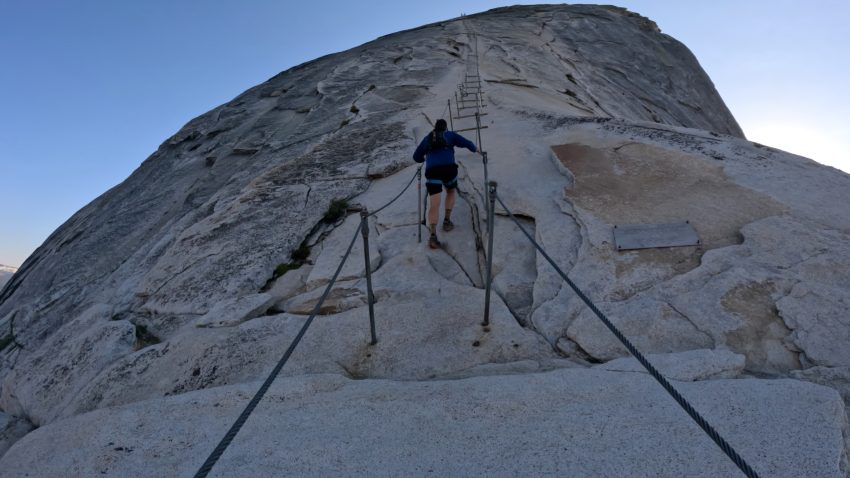
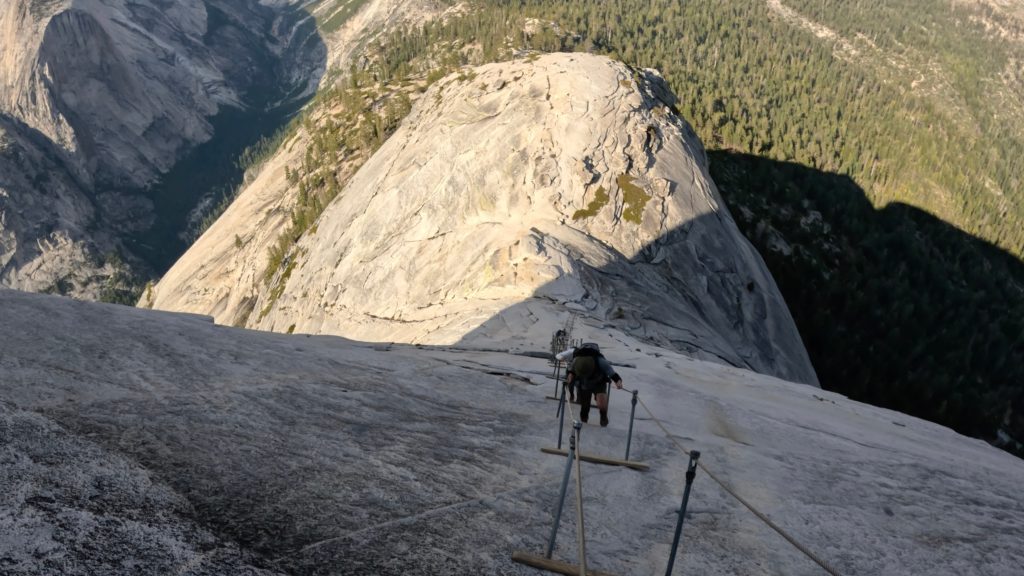
Finally, the age old gear vs no gear debate. Let me settle it here. The granite slabs on Half Dome hike, the cables section, approach high 50 degrees in grade at their steepest sections. This means that it basically feels like a vertical drop. No, you do not NEED to have a harness or anchor/via ferrata system to climb the cables. By doing so, it will slow you down, risks using the gear improperly (or having the wrong protection altogether) BUT if things go south and you have a physical or mental accident, the weather turns, your footwear fails etc. – having a harness and the correct gear could save your life. Because of this, I would highly recommend at least having a personal anchor along with your harness to run along the cables as you ascend and descend them. For the little added weight in your bag, these two or three pieces of gear will give you piece of mind. I link a few options on what to use in the gear links below.
Trail X Factors: The Approach to the Cables
So many vloggers, bloggers, influencers and hikers put so much of the Half Dome hike emphasis on the cables. Sure, they are the most technically difficult part of hiking Half Dome but the approach to the cables is no cupcake. Before even putting your hands on the steel cables, you will have traveled over 8 miles climbing more than 4,000ft. This hike on its own is very difficult. Add on the cables which demand both physical and mental stamina and your body will be fried after this hike. Don’t forget that you also have to hike all the way back down!
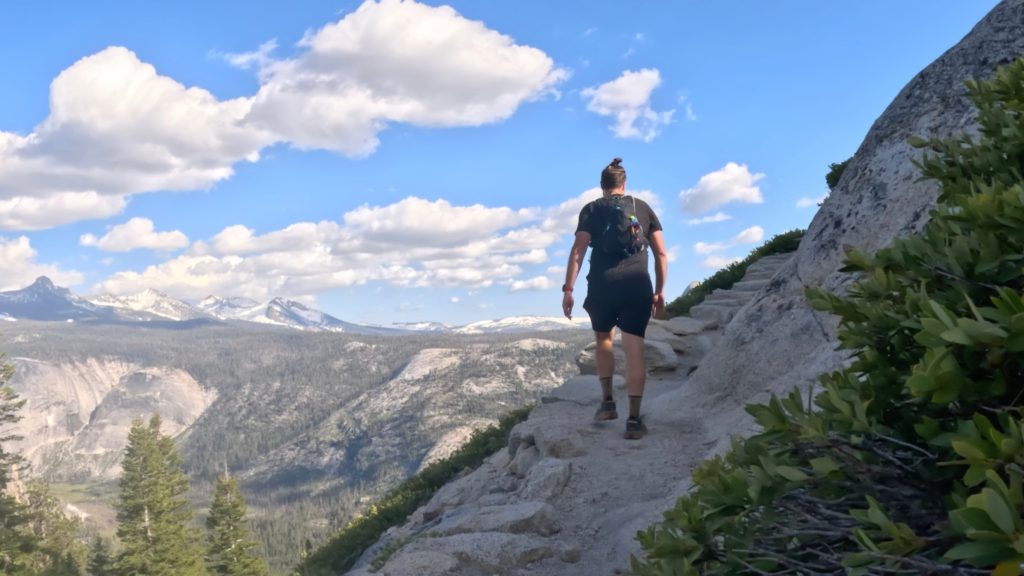
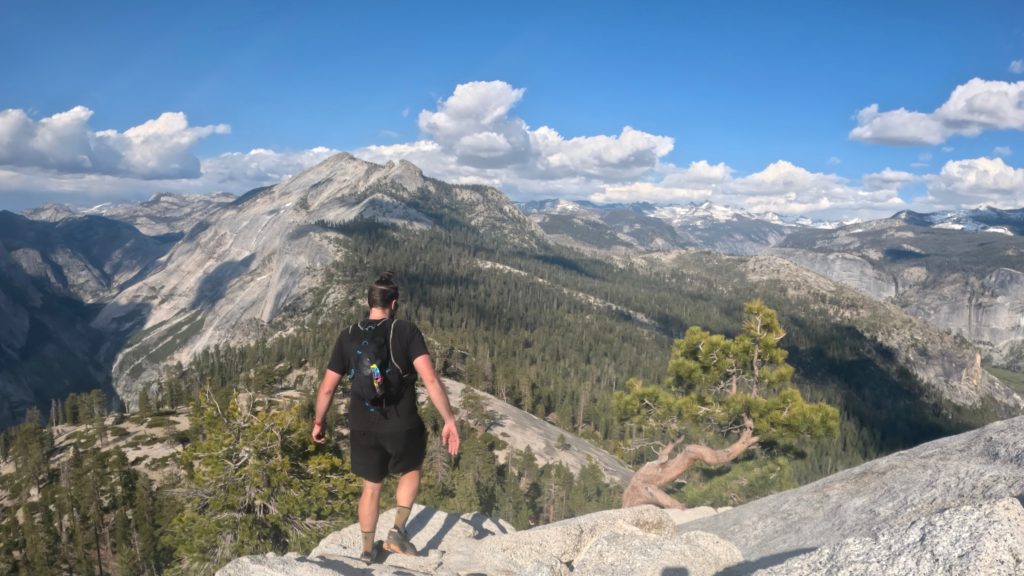
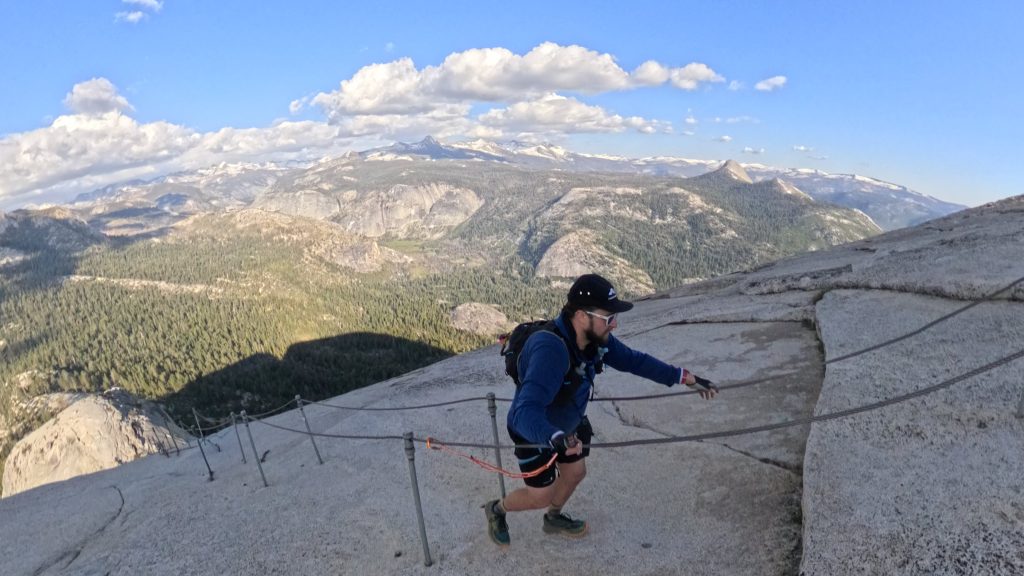
Best Views: This might be a hot take, but I think the views from Subdome and on the way up Half Dome are just as good as the ones from the summit. Overall though, from starting at Vernal and Nevada Falls to the views working up Subdome and Half Dome, this is one of the most scenic hikes I have ever been on.
Gear Needed
- Men’s Trail Runners
- La Sportiva Cyklon
- La Sportiva Trango Hiking Boots (Men’s)
- Backpack (Winter)
- Backpack (Summer)
- Sunglasses
- Base Layers
- T Shirt
- Mid Layer
- Rain Jacket / Shell
- Pants
- Shorts
- Socks
- Food & Water
- Optional: Gloves – you can use climbing gloves or simple garden gloves but something to protect your hands is nice on the cables themselves.
- Optional: Climbing Harness
- Optional: Anchor System or Via Ferrata System
- Optional: Helmet – likely a bit of overkill but always good to protect your head!
- Optional: Water Filter
- Optional: Garmin inReach
- Optional: Hiking Poles – 120CM
- Optional: Headlamp
- Optional: Garmin Fenix Watch
- Optional: GoPro, Joby Tripod, Selfie Stick, GoPro Max 2 , Drone, Insta360
- *Links included in this description might be affiliate links. If you purchase a product or service with the links that I provide I may receive a small commission. There is no additional charge to you
Half Dome Hike Route
My hike up to Half Dome was part of a bigger backpacking trip, but hopefully this .gpx file will help someone out.