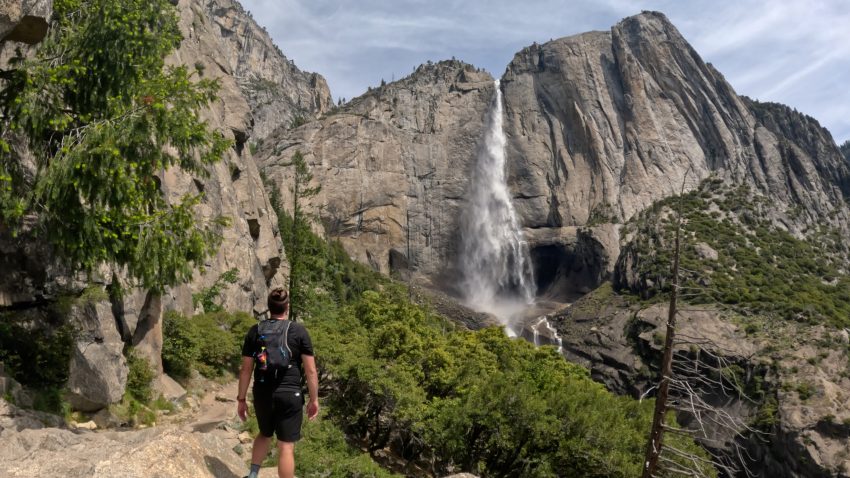
Yosemite Falls Hike Guide
Yosemite Falls is one of the staple hikes of the Yosemite Valley and Yosemite National Park. The hike is broken up to two trails: Upper Yosemite Falls and the lower falls. The upper falls trail is significantly more difficult but provides unique views of the waterfalls and the Yosemite Valley. The Lower Yosemite Falls trail is basically a paved path that starts just minutes away from one of the shuttle stops. If you do plan on hiking Upper Yosemite Falls, I would also recommend adding on Yosemite Point as it provides breathtaking views and adds very little additional hiking in the scheme of things. This guide will cover both hikes.
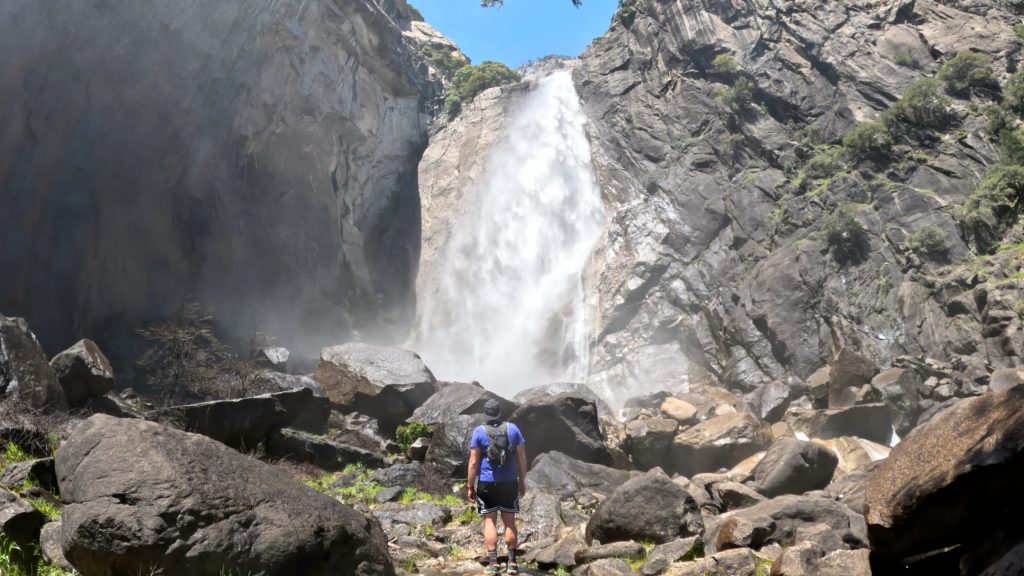
Yosemite Falls Quick Facts
Yosemite Falls Rating: ★★★★★ (5/5 Stars)
Virtual Trail Guide: Upper & Lower Yosemite Falls + Yosemite Point
Distance: 9 Miles Total (7 Miles RT Upper Yosemite waterfall, Add 1ish Miles to Yosemite Point, 1 Mile for lower waterfall)
Elevation Start: 4,010ft
High Point: Yosemite Point: 7,008ft
Total Elevation Gain: 3,700ft (Almost all on Upper Falls), Lower has under 100ft of elevation gain.
Estimated Time to Complete: 5-7 Hours Upper Falls, Under 1 Hour Lower Falls (Add 30-45 minutes for Yosemite Point)
Difficulty: Upper Falls Moderate to Difficult, Lower Falls – Walk in the Park What does this mean?
Class: Class 1– What does this mean?
Season: May – August (After these months the Falls risk drying up) – May is the best month to hike.
Crowds: Upper Falls – Moderate, Lower Falls – Very Crowded
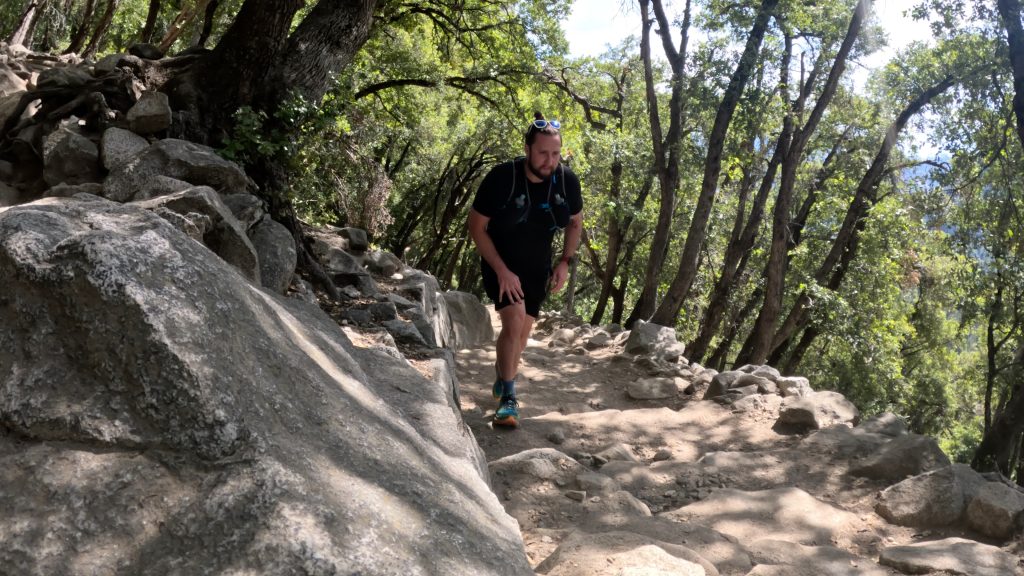
Directions to Upper and Lower Yosemite Falls
Trailhead: Yosemite Falls Trailhead
Getting Here: Once in Yosemite Valley, there are two separate starting points for Upper and Lower Falls. The Upper trailhead is located about 1 minute down the road from the Lower trailhead. Your best bet for parking is to try and do that at the Upper trailhead (linked below) or take a shuttle to both spots and walk in between.
Parking: There are a few parking lots at the Yosemite Falls trailhead (shared use for Camp 4 and Yosemite Lodge). You may get lucky and find one of these spots. However, your best bet is either to park at a lot that is farther away and walk to the trailhead, bike or take the shuttle. There are restrooms located near both the upper and lower Yosemite Falls trailheads.
Park Shuttle: Shuttle stop 6 provides access to Lower Falls while stop 7 provides access to the Upper Falls trail.
Permits/Fee: Admission to Yosemite National Park requires a $35 week pass or use of a National Parks Pass.
Summary
Dogs: Dogs are not allowed in any US National Park.
Camping: Yosemite has a variety of different lodging, camping and backcountry options. Read more about all of those here.
Make it a Loop: When hiking Yosemite Falls, the Upper Falls trail has a million options to extend your hike. The most popular things to do would be adding either: Yosemite Point (extra 1 mile), North Dome (extra 8ish miles), Eagle Peak (extra 6 miles) or El Cap (extra 9 miles). In addition to these options, there are much bigger loops possible if you are trail running or backpacking.
Hike Tip(s): Explore Upper Falls
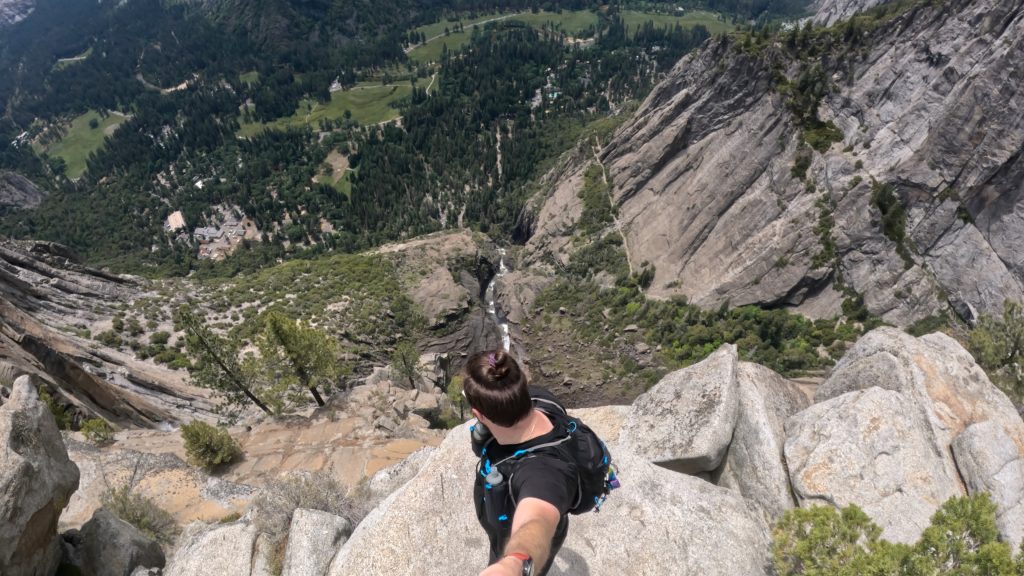
Once you reach the Upper Falls viewing area, be sure to explore. There is a lower viewing point you can walk down to and see the waterfall cascading down off the mountain top. Additionally, Yosemite Creek before the waterfall starts is an exceptionally great spot to rest and refill water if you need it (filtering of course).
Trail X Factors: Time of Year & Elevation Gain
I would highly suggest visiting these waterfalls in either May or June. These two months will offer the most powerful flow of water cascading down because its the prime window of snow melt from the mountains above. I have visited Yosemite National Park in November and both falls were completely dry.
I almost did not mention the elevation gain of Upper Falls but felt that I had to. There is no doubt, this trail is very very steep. Anytime you have a hike that consistently gains 1,000ft per mile, that is no joke. Your legs will question you on the way up and hate you on the way down. Budget plenty of time for this hike based on your fitness, experience and skill level.
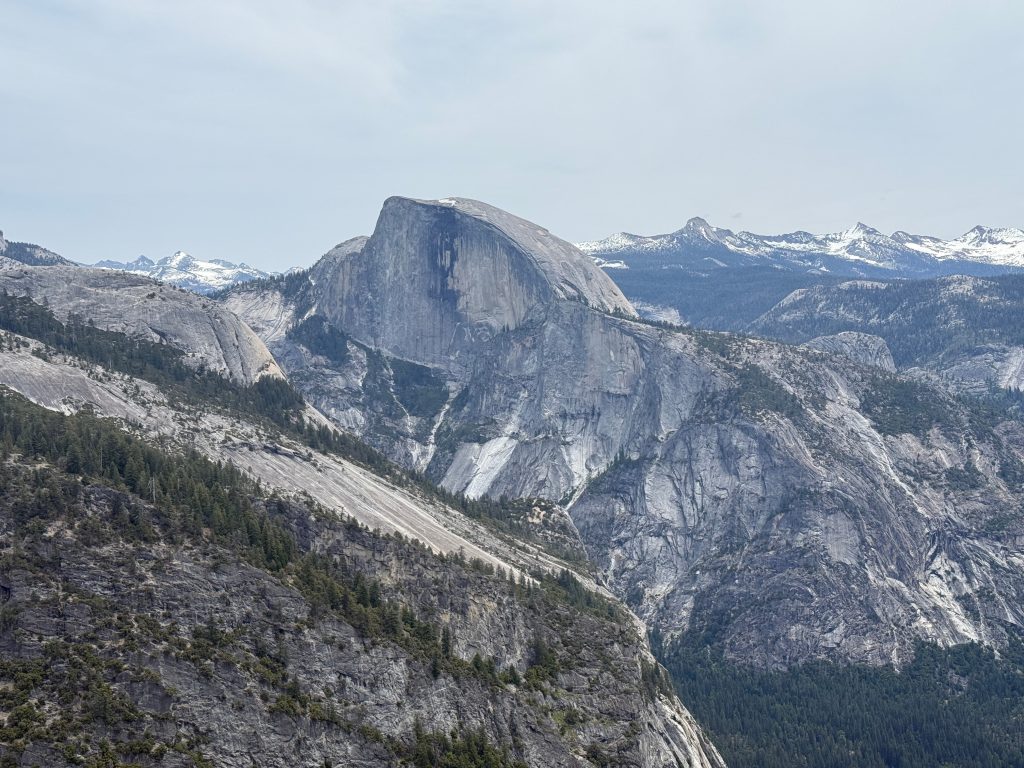
Best Views: If I had to choose between either Upper or Lower Yosemite Falls, there is no contest that the better views are on the Upper Falls trail. However, both of these trails are stunning,especially for how little work you have to put into the Lower Yosemite Falls trail. To steal the words from a random hiker I met along the trail though, “If you are hiking up to Upper Falls and don’t add on Yosemite Point, you messed up.”
Gear Needed
- Men’s Trail Runners
- La Sportiva Cyklon
- La Sportiva Trango Hiking Boots (Men’s)
- Backpack (Winter)
- Backpack (Summer)
- Sunglasses
- Base Layers
- T Shirt
- Mid Layer
- Rain Jacket / Shell
- Pants
- Shorts
- Socks
- Food & Water
- Optional: Water Filter
- Optional: Garmin inReach
- Optional: Hiking Poles – 120CM
- Optional: Headlamp
- Optional: Garmin Fenix Watch
- Optional: GoPro, Joby Tripod, Selfie Stick, GoPro Max 2 , Drone, Insta360
- *Links included in this description might be affiliate links. If you purchase a product or service with the links that I provide I may receive a small commission. There is no additional charge to you
Yosemite Falls Hike Route
I only tracked Upper Falls and Yosemite Point. Lower Falls is under a mile and extremely well signed.