Columbia Point Hike Guide
Columbia Point is a Colorado 13er Centennial (just 20ft shy of a 14er) located in the Sangre de Cristo Range of Southern Colorado. Previously known as Kat Carson, this mountain was renamed in June 2003 after the astronauts who lost their lives on the Columbia space shuttle. The hike to the summit requires a tedious Class 2+ ridge and summiting 2 more mountains before reaching the official mountain top.
Columbia Point Quick Facts
Columbia Point Rating: ★★★★ (4/5 Stars)
Virtual Trail Guide: Columbia Point
Distance: 13.25 Miles (Upper TH), 18.5 Miles (Lower TH)
Elevation Start: 10,059ft (Upper TH), 8,773ft (Lower TH)
High Point: 13,980ft
Total Elevation Gain: 5,000ft (Upper TH), 6,300ft (Lower TH)
Estimated Time to Complete: 12-14 Hours Total
Difficulty: Difficult What does this mean?
Class: Class 2+ (Easy to find Class 3) – What does this mean?
Season: June – October (Expect to start from the lower TH + snow outside of this window)
Crowds: Low
Directions to Columbia Point
Trailhead: South Colony Lakes
Getting Here: Although there are other ways to attempt this hike, the most popular starting point would be from the South Colony Lakes TH. The first step is to navigate to the small town of Westcliffe. Since there are many ways to get here, I will leave out directions. Once in Westcliffe, turn onto 6th St (CO69) south. Continue on for 4.5 miles until you reach Colfax Avenue on your right. Take Colfax for 5.6 miles until the road “ends” and take a right here to continue up towards the lower parking area on your right. If you are driving up to the upper parking area, it’s another 2.7 miles. This road is very rough and requires a high clearance AWD or 4WD vehicle. As of 2025, the first mile is, generally speaking, the roughest but this will change year over year. You can enter “South Colony Lakes” into your favorite navigational device. My stock Tacoma had no problem getting to the upper TH.
Parking: There are two main lots for this hike, the upper area and lower area. As mentioned above, the upper area requires higher clearance and AWD or 4WD. The lower lot can fit about 15-20 cars and will fill up on busy weekends. The top lot can fit about 20 cars or so and will also get full on busier weekends. Neither area has a bathroom, so bring your TP and squatting stance.
Permits/Fee: No fee required.

Summary
Dogs: Columbia Point is a dog friendly hike for the right mountain dog. Since most of this hike is in a Wilderness area, dogs should remain leashed until after leaving Obstruction Peak. This route does have a lot of Class2+ scrambling so be sure your dog is good in this type of terrain.
Camping: There is a lot of camping for Columbia Point. The first spots are before the upper parking area along the road. There are scattered spots at the upper parking area and along the trail to the South Colony Lakes. Once at the lower South Colony Lake, this is by far the most popular spot to camp near the mountain itself if you are looking to make this a multiday trip. PLEASE take care of this area and follow all wilderness area camping rules. Even on busy weekends (Labor Day, 4th of July etc.) there still should be plenty of room up here to camp, but get there early because it will get crowded.
Make it a Loop: This is an out and back hike but it could be easy to make a bigger trip by adding on Crestone Needle, Crestone Peak or Humboldt Peak.
Trail X Factors: Multiple Summits
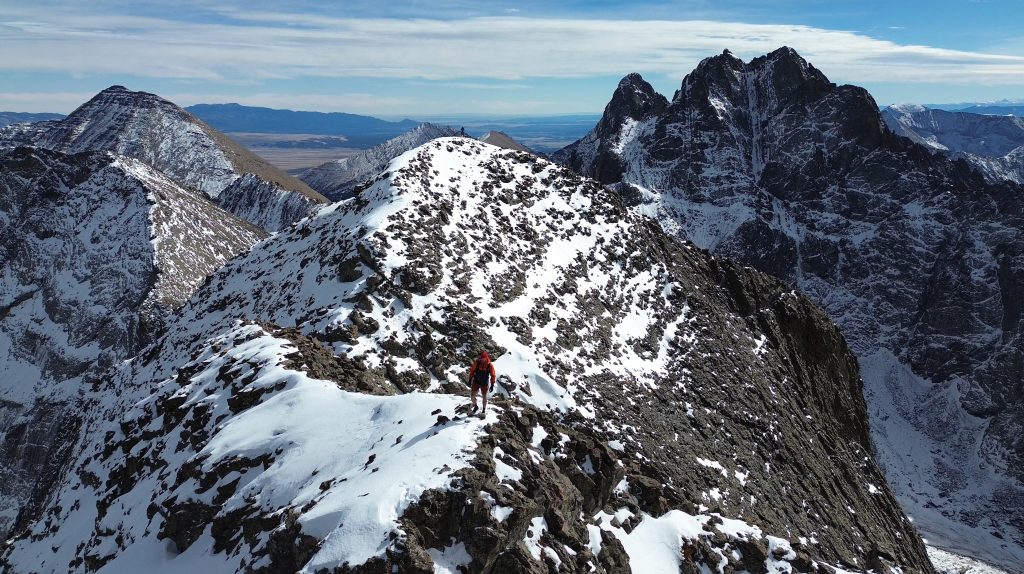
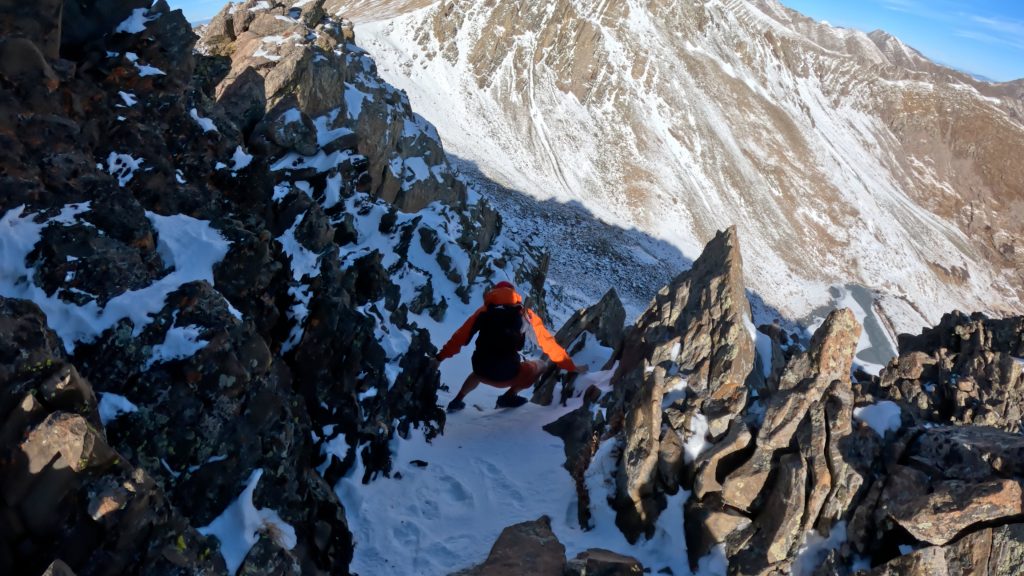
On your way to Columbia Point, you will also tag Obstruction Peak (107th highest peak in Colorado) and Kitty Kat Karson (unofficial peak just shy of a 14er). By doing so, you will have to gain, lose and regain a lot of elevation on Obstruction Peak in particular. Not only does this add to the physical challenge, but it also adds to the mental difficulty of the day as there are PLENTY of false summits on this hike.
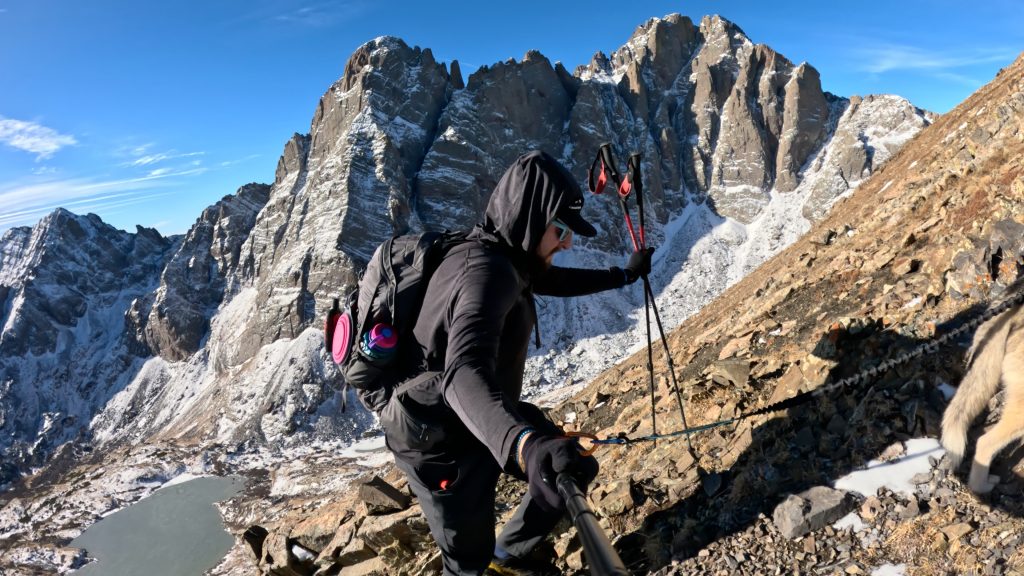
Hike Tip(s): This entire hike is exposed once you leave South Colony Lakes. You will be above treeline for several hours with nowhere to bail if a storm does roll in, be sure to have great weather. While scrambling the ridge from the Humboldt Peak saddle over to Obstruction Peak, give yourself a lot of time. This ridge is fairly tedious and can be kept high Class 2 but will require some route finding and time to do so. After leaving this ridge, it may be tempting to shoot straight across the big field up to Obstruction Peak. However, it’s best to stick to hikers’ right (more indirect) as the ground is grassy (vs talus to the left) and easier to travel quickly.
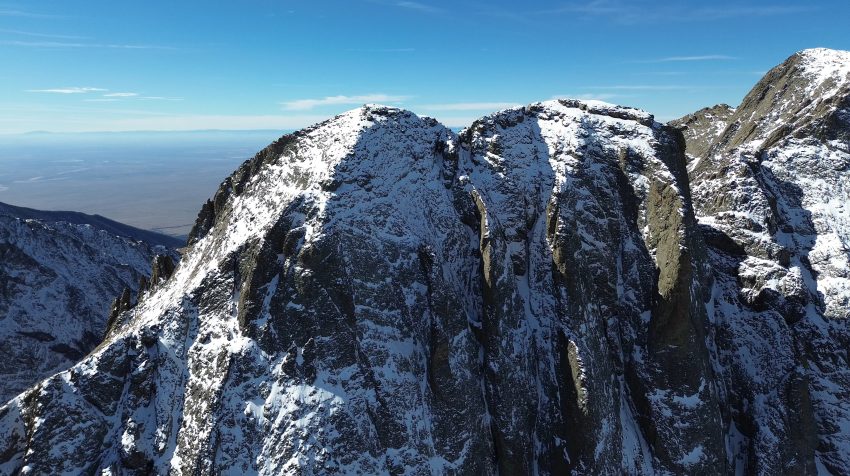
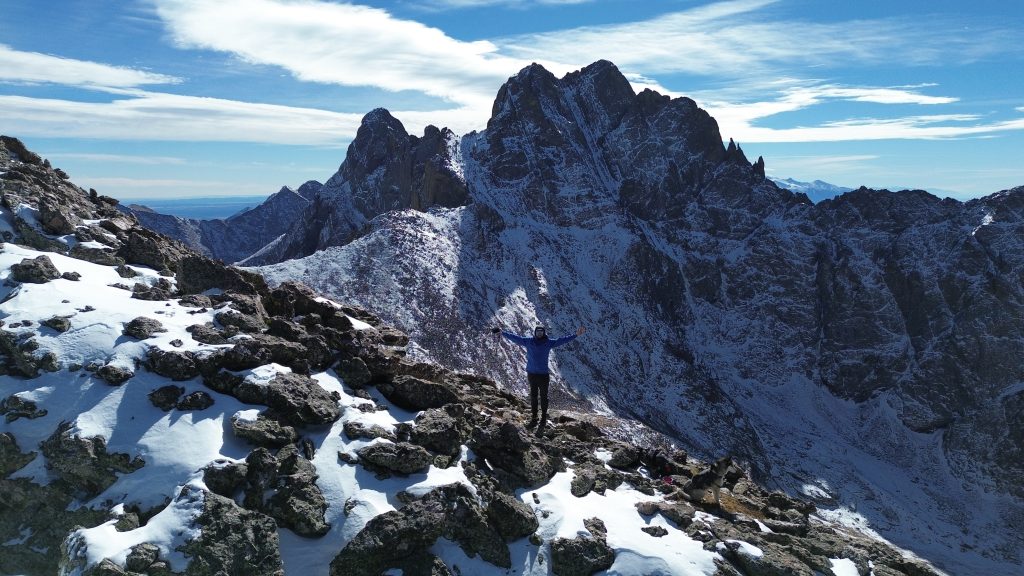
Best Views: The views of the Crestones, Humboldt Peak and Sangre de Cristo range are absolutely outstanding on the way to Columbia Point. Be sure to soak in the unique views of Great Sand Dunes National Park from the summit as well.
Gear Needed
- 14er Day Hike Packing List
- Men’s Trail Runners
- La Sportiva Cyklon
- La Sportiva Trango Hiking Boots (Men’s)
- Backpack (Winter)
- Backpack (Summer)
- Base Layers
- T Shirt
- Mid Layer
- Rain Jacket / Shell
- Outer Layer
- Pants
- Shorts
- Socks
- Food & Water
- Optional: Water Filter
- Optional: Garmin inReach
- Optional: Hiking Poles – 120CM
- Optional: Headlamp
- Optional: Climbing Helmet
- Optional: Garmin Fenix Watch
- Optional: GoPro, Joby Tripod, Selfie Stick, GoPro Max 2, Drone, Insta360
- *Links included in this description might be affiliate links. If you purchase a product or service with the links that I provide I may receive a small commission. There is no additional charge to you.